The next location is on the map, but the camera kit deserves a moment before you move on. Lay out the battery you need next, its matching dock and the lead that belongs with it.
A compatible inverter can be part of that stop. Begin with the charger’s requirements and the vehicle socket limit, then find a dry, stable place for the equipment while parked.
Start with the camera charger and the vehicle socket, not the 300W number on the inverter.
Start with the equipment you already use
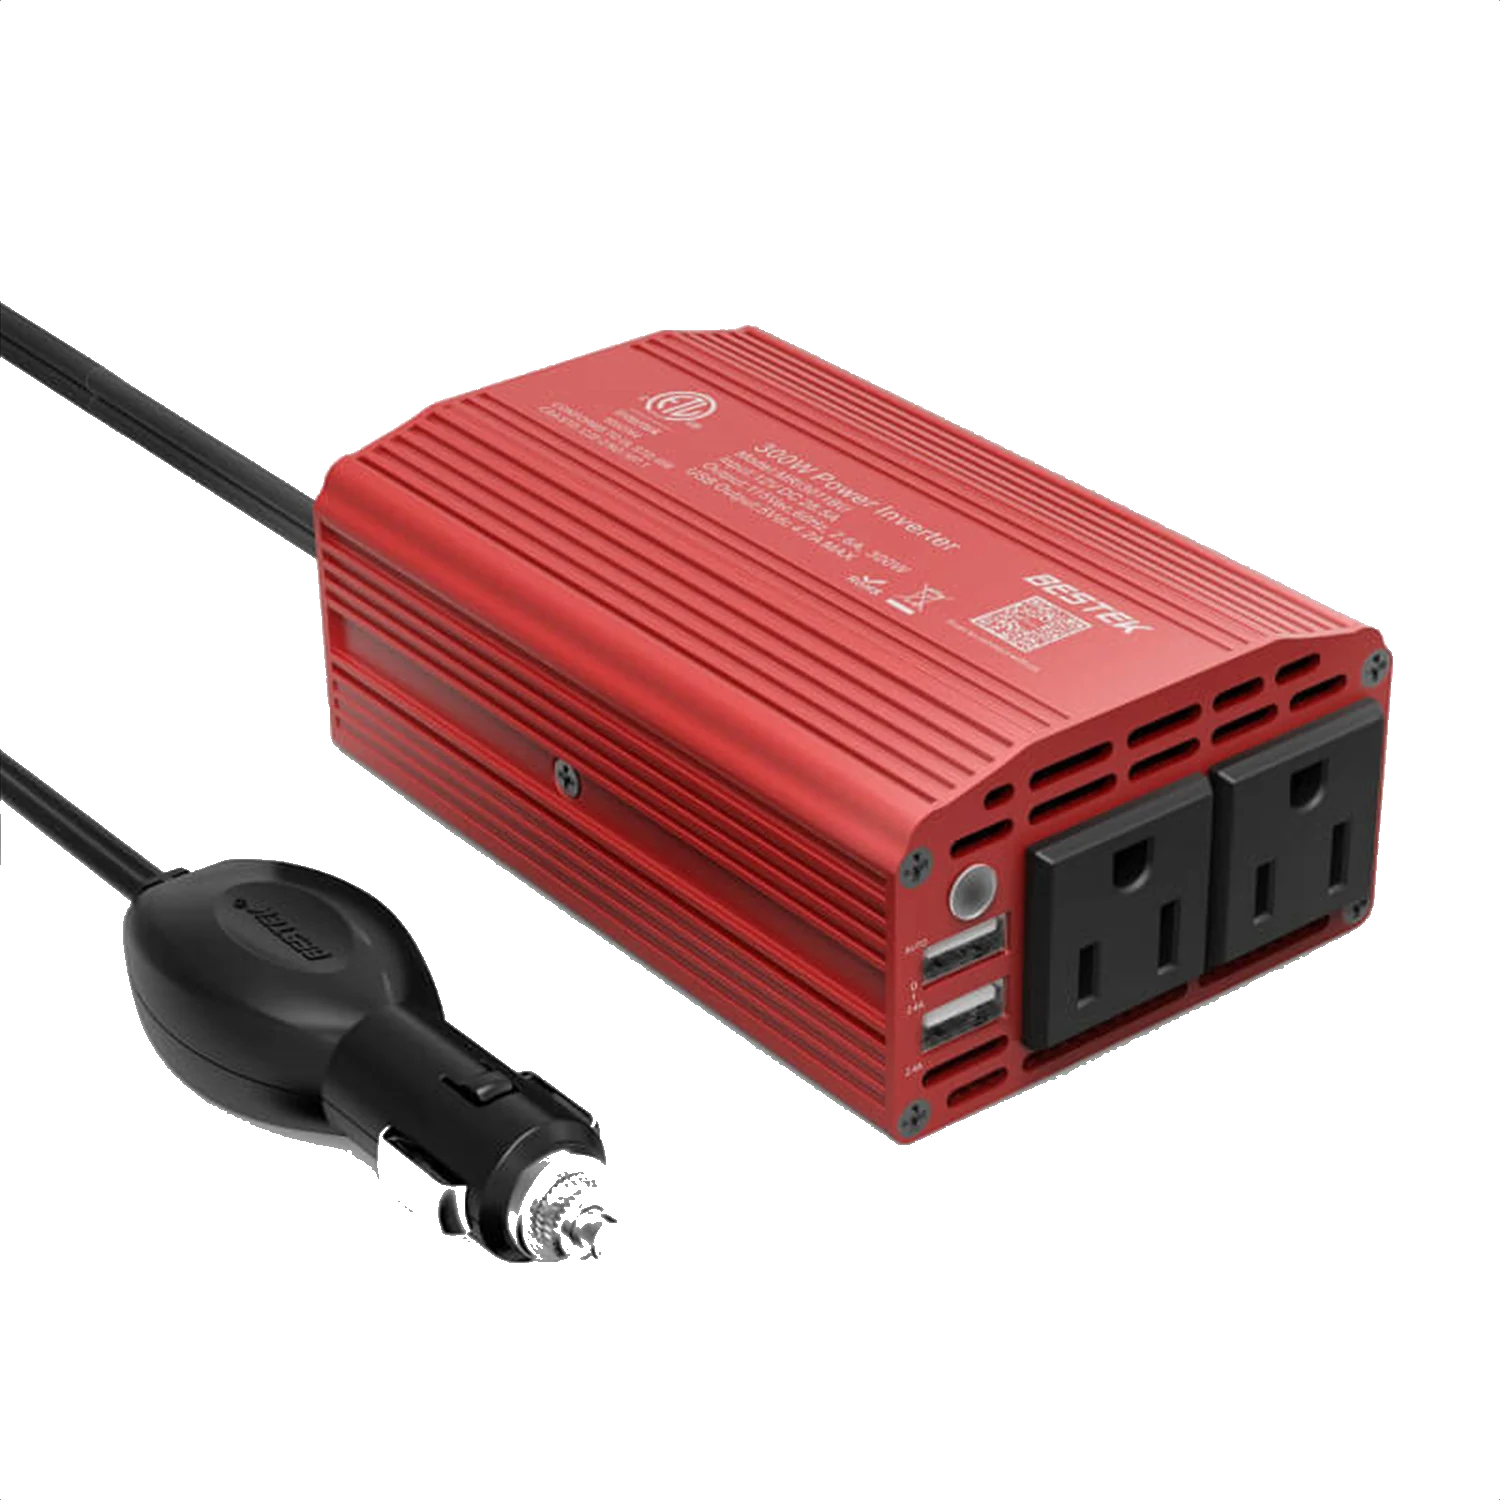
A road-trip camera kit often includes a battery charging dock that plugs into an AC outlet. The red BESTEK 300W inverter provides two AC outlets and two USB-A ports from a compatible 12V vehicle supply. That makes it a possible match for a small charging kit, but the outlet shape alone does not establish compatibility. Read the charging dock’s input label and the inverter instructions first. If your camera can charge directly from a compatible USB source, you may not need the AC route at all.
Start with the camera charger
The inverter adds AC outlets; the camera charger and vehicle socket still decide whether the planned setup is appropriate.
The vehicle socket sets a separate limit
The inverter’s 300W continuous rating is not a promise that a cigarette-lighter socket can deliver 300W. The vehicle socket, its fuse, the inverter and the connected equipment each impose limits. Follow the lowest applicable limit. BESTEK’s listing warns against drawing more than 150W through the cigarette-lighter connection; your vehicle may allow less. Check the vehicle manual and account for the input requirements of everything connected. Do not change a vehicle fuse or improvise a battery connection to get more power.
Pack around the next shot
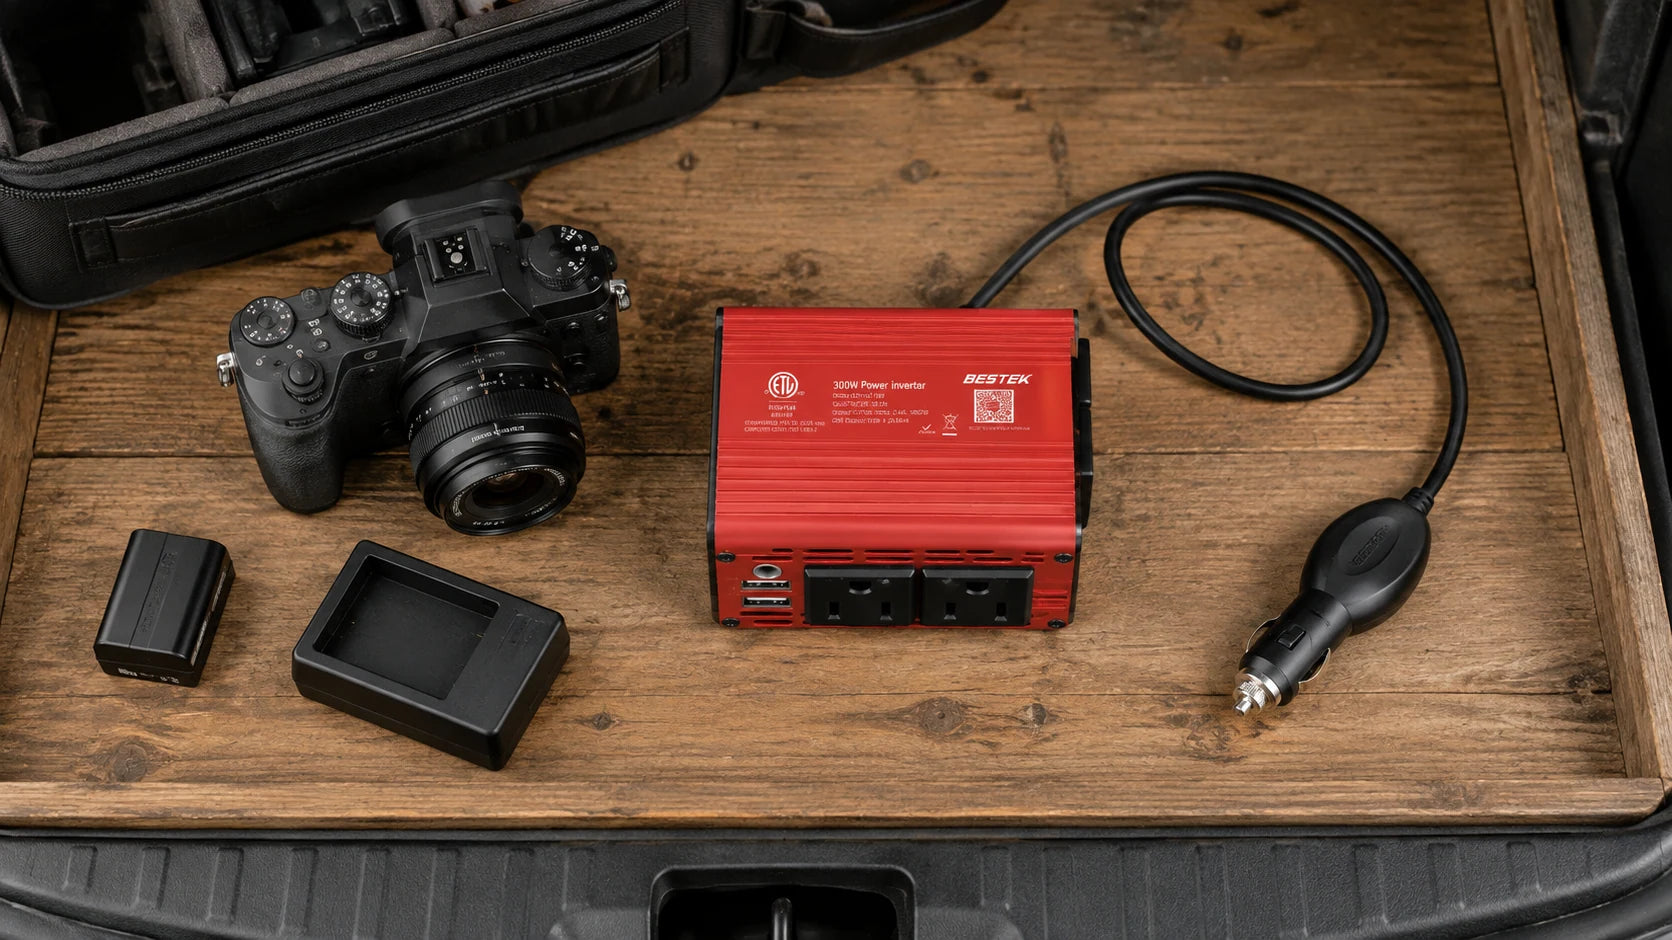
Picture a day with a morning shoot and another location after lunch. Put the battery you intend to use next at the front of the plan. Keep the matching dock and its lead together so the stop begins with a complete kit, rather than a search through separate bags.
Use separate pockets for batteries that are ready and those awaiting a charge. A small paper note can track the dock in use and the equipment still to pack. Keep the note beside the kit, with the inverter’s ventilation space left clear.
Make the charging area part of the plan
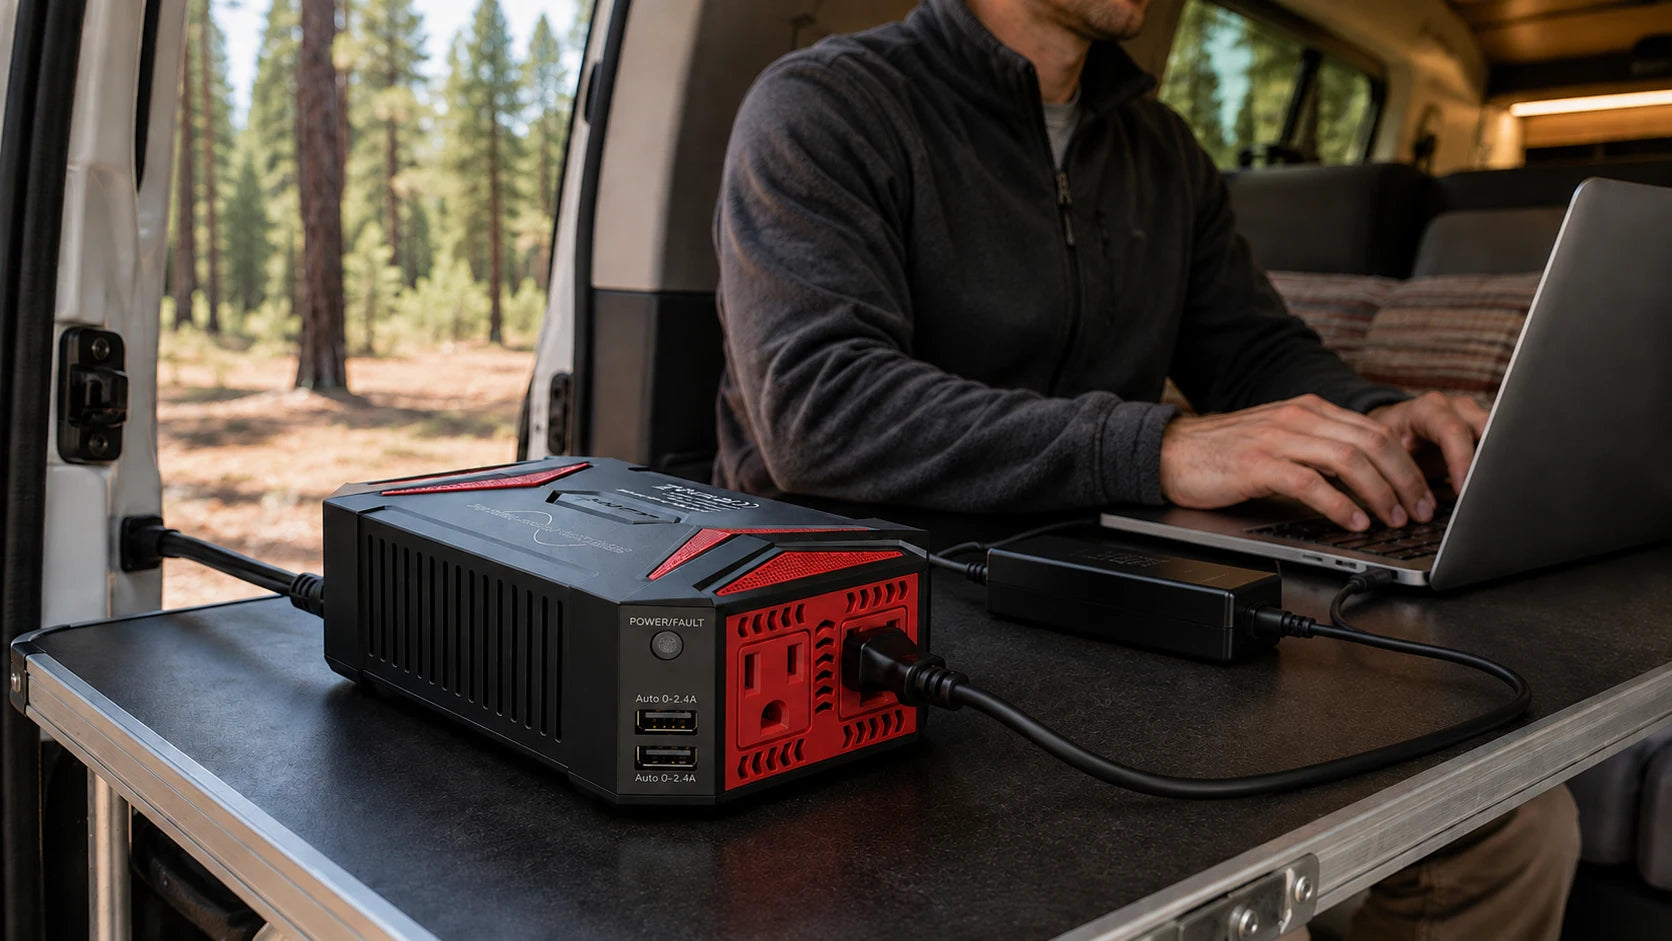
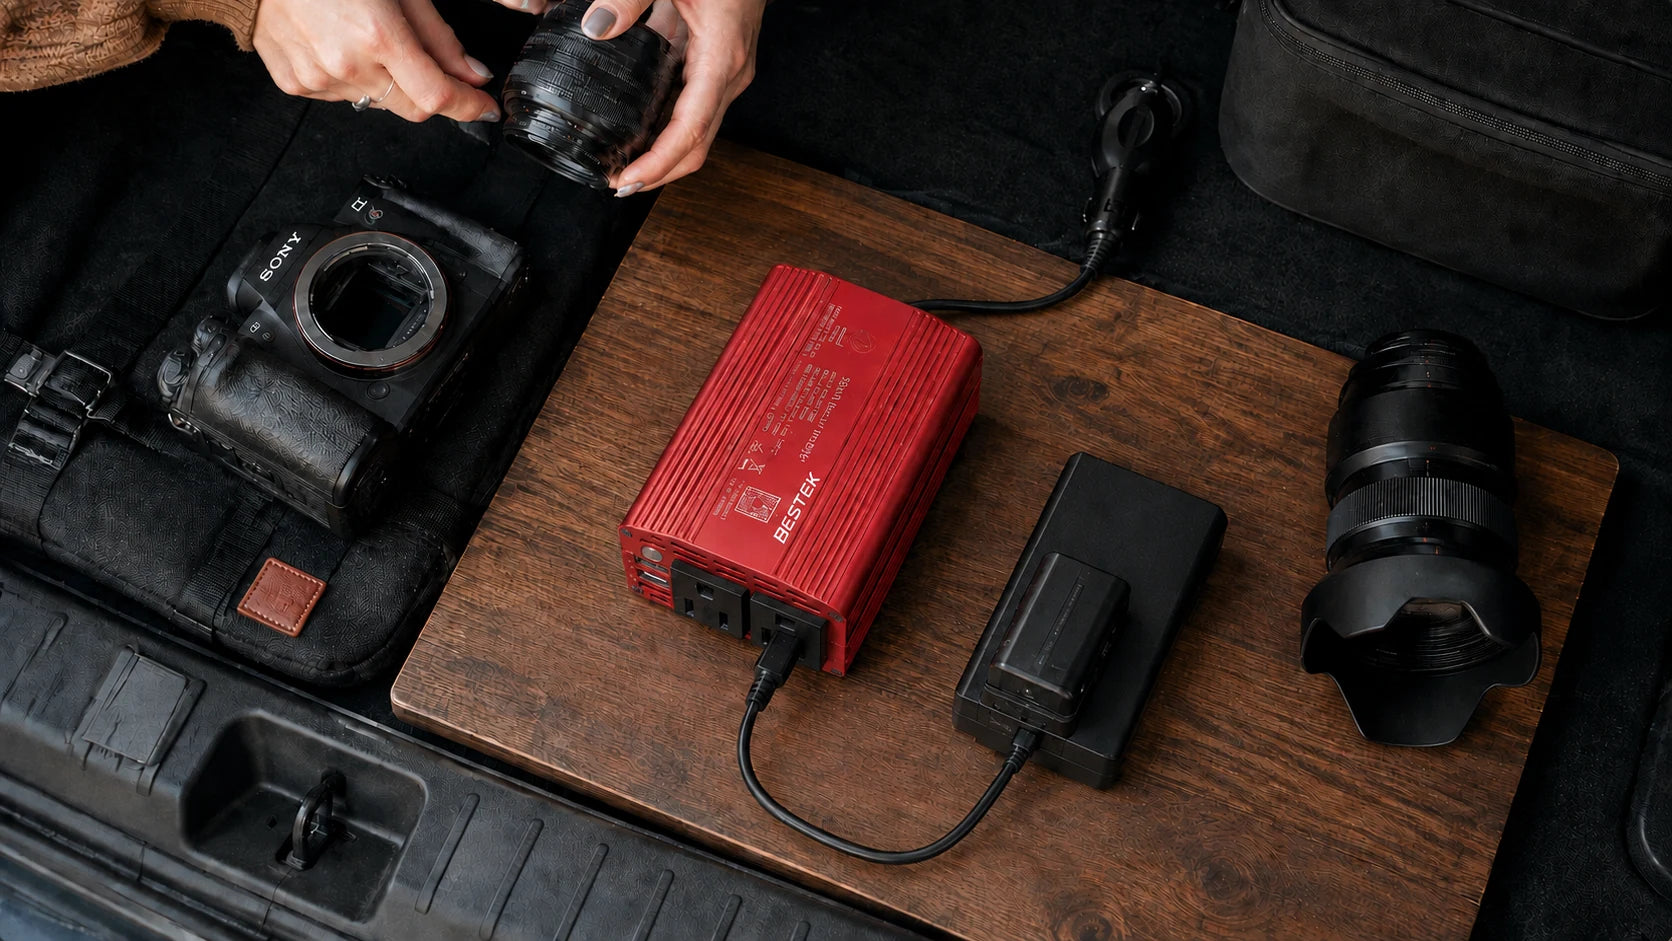
Set up while parked. Choose a dry, stable surface with space around the inverter’s cooling openings. A camera bag or seat cushion is not a suitable place to bury an operating inverter. Keep leads away from hinges, sharp edges, pedals and seat rails. Use the dock’s correct AC lead, and make sure the connector is fully seated before turning the system on according to its instructions. The scene shown here is an illustration of a charging stop, not an installation diagram.
Charge with a clear end point
Check the connected equipment during use and stop if a plug is loose, a cable is damaged or there is an unusual smell or excessive heat. The inverter is not a battery pack: it draws from the vehicle. Do not assume the vehicle battery is protected from discharge when the engine is off. Follow the vehicle and inverter instructions on engine state and operating time; never idle a vehicle in an enclosed area. Disconnect the setup when the charging stop is over.
Choose a charging route
| Your camera kit | Route to check | What decides the fit |
|---|---|---|
| AC battery dock | Inverter + original dock | AC input and shared vehicle limit |
| Camera supports USB charging | Compatible USB supply | Camera instructions and cable |
| Unclear charger label | Pause the setup | Confirmation from the manufacturer |
These are selection paths, not a list of camera models tested with this inverter.
Before the next location
Use this checklist while you review your equipment.
0 of 4 checked. Your checks stay in this tab only.
Common questions
Can I use both AC outlets?
Only if every connected device is compatible and the combined load remains within all applicable limits. Two outlets do not provide two separate 300W supplies.
Can it run a hair dryer or heater?
Do not use this setup for high-power heating appliances. The product listing specifically excludes equipment such as hair dryers and heaters.
Can I leave the inverter on during a break?
BESTEK’s listing says not to leave it on while the car is off. Follow the vehicle and inverter instructions, and disconnect when finished.
How much charge will a short stop add?
This guide does not establish a charging time. Use the camera and dock instructions and their charge indicators to judge the battery’s status.
Sources and editorial notes
BESTEK product listing. Product facts checked September 7, 2026.
Scene images are AI-generated editorial illustrations, not test reports or installation diagrams. Follow actual labels and instructions.